
Basement Finishing Ideas on a Budget: 15 Affordable Ways to Finish Your Lower Level
Finishing a basement is one of the highest-return projects you can do in a house, and you don’t need a contractor’s estimate knocking on $30,000 to get there. The best basement finishing ideas on a budget come down to three things: choosing forgiving materials, doing the unglamorous prep work yourself, and knowing where spending a little more up front actually saves you money later.
A professional basement finish typically runs $30 to $75 per square foot, so a 700-square-foot basement lands between roughly $21,000 and $52,000 when you hire it all out. Do the labor yourself and you can cut that to $7 to $23 per square foot—often under $10,000 for the same space. The gap between those two numbers is where all of the ideas below live.
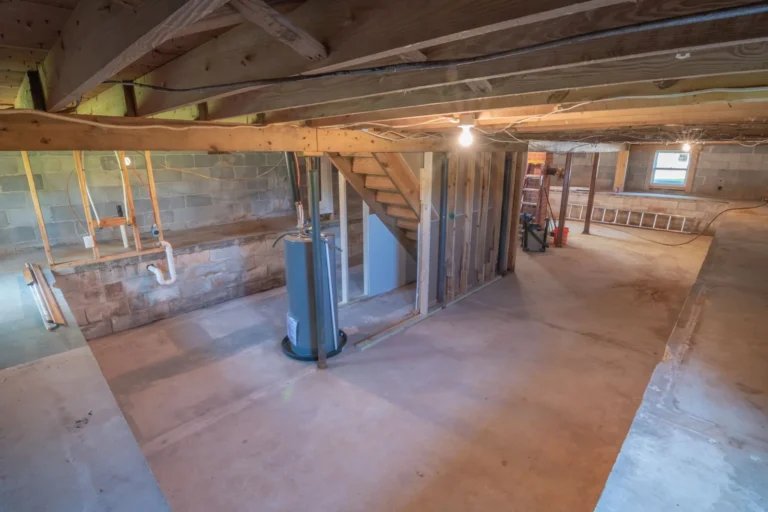
Before you demo anything, deal with water. Budget finishing only works on a dry basement; the money you spend on basement waterproofing is the cheapest insurance on this list. Once you’ve verified the space stays dry through a wet season, you’re ready to start.
Basement Finishing Ideas on a Budget: Where to Start
The order of operations saves more money than any single material choice. Framing, insulation, and electrical all happen behind the walls, which means a mistake there costs double—you pay to fix it and to re-hang drywall. Spend your care on the invisible layers and your savings on the visible ones.
Start with the floor plan, not the finishes. A large open room with a defined storage nook is cheaper to build than four walled-off boxes. Every interior wall you skip saves framing lumber, drywall, insulation, trim, and a door—easily $800 to $1,500 per wall in materials and labor.
Aim for one or two clear “zones” (a lounge, a play area, a home office corner) instead of true rooms. You get the finished feel without the framing bill.
Flooring That Costs Less and Actually Survives
Basement floors sit on concrete, and concrete breathes moisture. That rules out solid hardwood and most laminate, which cup and swell within a season or two. Your realistic budget options are the same ones contractors use in rentals and finished lower levels.
| Flooring type | Installed cost / sq ft | Basement-friendly? | Notes |
|---|---|---|---|
| Luxury vinyl plank (LVP) | $2–$7 | Yes | Waterproof, floats over concrete, easy DIY |
| Sheet vinyl | $1–$3 | Yes | Cheapest, seamless, less “finished” look |
| Carpet + pad | $1.50–$4 | Maybe | Warm, but holds moisture and musty smells |
| Epoxy / painted concrete | $0.50–$2 | Yes | Most budget, cold underfoot, modern look |
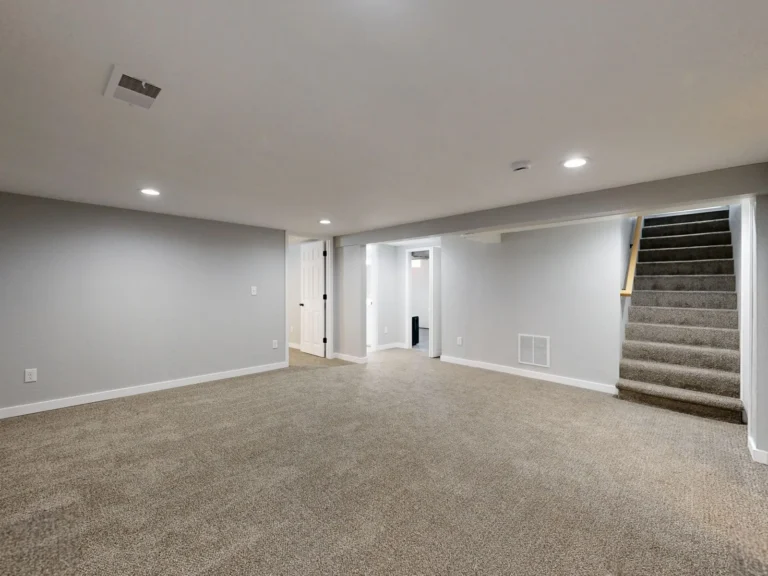
Luxury vinyl plank is the workhorse. Brands like Lifeproof (Home Depot) and TrafficMaster run $2 to $4 per square foot, click together with no glue, and install directly over a clean slab. At 700 square feet, that’s $1,400 to $2,800 in material—a fraction of what installers charge to lay tile or engineered wood.
Epoxy is the real budget play. A two-part epoxy kit (Rust-Oleum or similar) costs $100 to $250 for a garage-sized floor. It looks industrial-clean, wipes down in seconds, and takes a weekend. Pair it with an area rug for warmth and you’ve finished the floor for under $300.
Skip the plastic vapor-barrier confusion: LVP already has a built-in backing, and epoxy goes straight on properly prepped concrete. If you’re putting down carpet, add a quality pad with a moisture barrier (like a bonded polyurethane pad) rather than cheap rebond.

Photo by Tolga deniz Aran via Pexels
Cheaper Walls: Insulation That Pays You Back
Insulation is the one place skimping costs you forever—heating and cooling the lower level is the recurring expense. The US Department of Energy recommends R-13 to R-19 for basement walls in most climates, and basement finishing guides consistently point to rigid foam or fiberglass as the standard approaches.
Fiberglass batt insulation (R-13 to R-15) is the cheapest way to hit code, at $0.30 to $0.50 per square foot, and it’s forgiving for first-timers. Rigid foam board (R-10 for 2-inch XPS) costs more up front—$0.60 to $1.00 per square foot—but resists moisture and doubles as a vapor barrier when taped at the seams.
A good middle path: rigid foam against the concrete wall, then a 2×4 wall with unfaced fiberglass on the interior side. You get continuous insulation, a moisture break, and a cavity for wiring. It’s the setup that avoids the mold issues that make cheap basements expensive later.
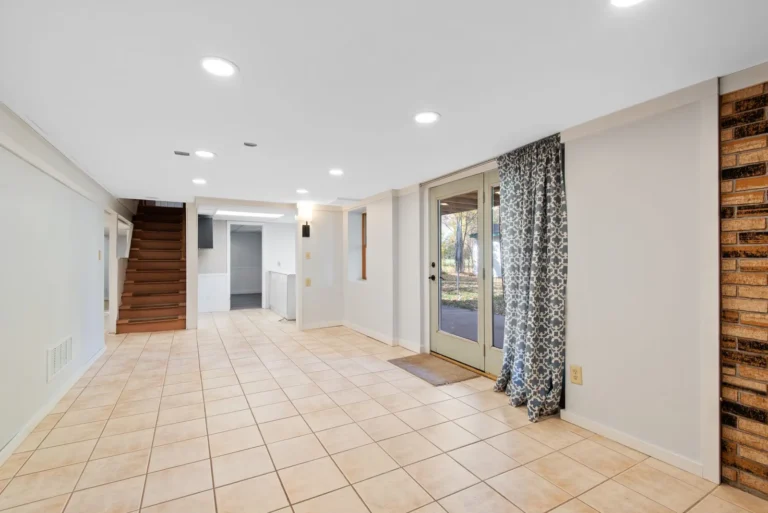
Drywall is fine down here, with one adjustment. Use moisture- and mold-resistant drywall (green board or USG’s Mold Tough) for the bottom few feet even if you use standard board above. At $0.45 to $0.60 per square foot versus $0.30 for standard, the upgrade is a rounding error and it’s what stops baseboard-level staining.
- Frame walls with 2x4s spaced 16 inches on center—standard, cheap, and matches every insulation batt.
- Run electrical before hanging drywall; retrofitting outlets later means opening walls back up.
- Caulk and seal the rim joist area with spray foam—the biggest single air leak in most basements.

Photo by Ann H via Pexels
Ceilings: The Fastest Money You’ll Save
Finishing a ceiling is the single biggest line item most people don’t plan for. A drywall ceiling is labor-heavy (you’re taping overhead), and drop ceilings with those commercial 2×4 tiles instantly read “office.”
Paint it black or white and call it done. An exposed-joist ceiling, spray-painted flat black or bright white, is a legitimate design choice now. It costs $100 to $300 in paint (a Wagner or Graco sprayer rental if you don’t own one) versus $1,500 to $3,000 to drywall the same square footage. It also keeps every pipe, wire, and future repair one ladder away.
If you need the sound insulation, staple faced insulation batts between the joists before painting—you get acoustic damping and a finished look for the price of the batts. Leave the exposed look in a home theater or workshop and nobody will question it.
Lighting and Finishing Touches That Read Expensive
Here’s where cheap choices look cheap. Skip the single bare bulb in the center and you’ve already won.
LED flush-mount and recessed “canless” lights run $15 to $40 each and install into drywall or joists without housing. Six to eight of them spread evenly light a 700-square-foot room better than anything a big-box chandelier does, at well under $300 total. Put them on a dimmer—$25—and the space suddenly feels intentional.
Paint is your cheapest designer. Light, warm neutrals (SW Agreeable Gray, BM White Dove) bounce the light from a few canless fixtures and make a low-ceiling basement feel taller. A gallon of quality paint is $40 to $60, and two gallons does most lower levels.
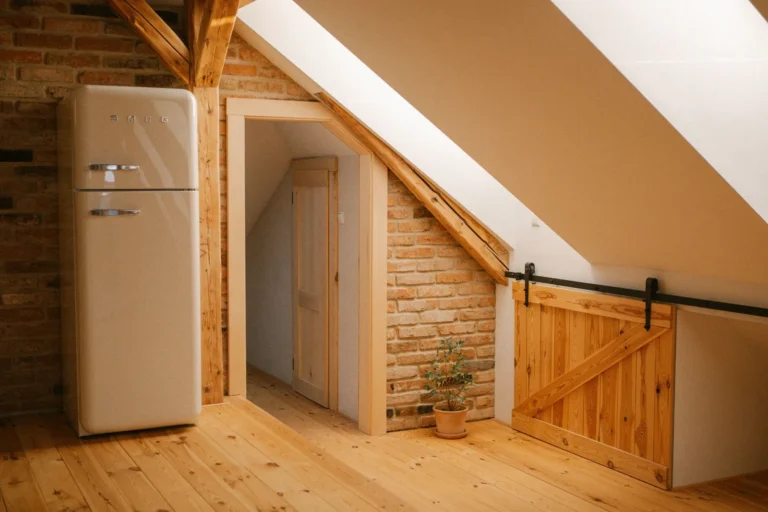
Doors and trim are negotiable. Skip the $200 pre-hung interior door for a barn-style door on a rail ($80 to $150) or a simple curtain for storage nooks and utility rooms. Reuse the baseboard you saved from demo, or buy primed MDF base ($1 to $2 per linear foot) instead of hardwood.
For more complete walk-throughs, our guide to finished basement ideas covers layouts and materials in more depth, and if you’re weighing whether to hire out the whole job, start with basement finishing cost to set a realistic budget.
When to DIY It and When to Write the Check
The honest rule: do everything you can see and leave everything that can fail behind a wall to a pro—or learn it properly the first time.
DIY-friendly (safe, reversible, visible):
– Painting, LVP and sheet-vinyl flooring, baseboard and trim
– Drop-in lighting, outlet and switch plates, ceiling paint
– Framing non-load-bearing partition walls and hanging standard drywall
Worth hiring a pro (code, moisture, or skill-gated):
– Electrical panel work and any new circuits
– Plumbing rough-in for a bathroom or wet bar
– Radon mitigation and structural/waterproofing concerns
Electrical is the line most pros draw for a reason. A panel addition or bathroom rough-in isn’t a weekend project—it’s a permit, an inspection, and a live safety issue. Expect to pay an electrician $50 to $100 per hour and a plumber $45 to $150 per hour for the parts worth subbing out.
Frequently Asked Questions
How much does it cost to finish a basement on a budget?
A DIY basement finish runs $7 to $23 per square foot, so a 700-square-foot space lands between roughly $5,000 and $16,000 depending on the bathroom and whether you hire out electrical and plumbing. A contractor-led finish is $30 to $75 per square foot. The single biggest variable is whether you add a bathroom.
Can I finish my basement myself?
Yes, if you frame, insulate, hang drywall, and lay flooring yourself, and sub out electrical and plumbing. The order is fixed—waterproofing, framing, electrical and plumbing rough-in, insulation, drywall, then finishes—and each step must pass before the next covers it up.
What is the cheapest way to finish a basement floor?
Epoxy or painted concrete is cheapest at $0.50 to $2 per square foot. Luxury vinyl plank is the cheapest option that still looks like a real finished floor, at $2 to $4 per square foot for materials. Both are DIY-friendly over a clean, dry slab.
Which insulation is best for basement walls?
Rigid foam board (R-10 XPS) against the concrete plus fiberglass batts in the stud cavity is the grid-tested setup: continuous insulation, a moisture break, and a wiring chase. Fiberglass batts alone are cheapest but leave the concrete cold, which can encourage condensation.
Do I need a vapor barrier when finishing a basement?
It depends on climate and assembly. In cold climates you generally want a vapor retarder against the concrete wall (rigid foam or a faced batt), not a plastic sheet that traps moisture against the studs. Check your local code—this is the cheapest mistake to get wrong and the most expensive to redo.
The Bottom Line
The cheapest basement isn’t the one you rush—it’s the one you don’t have to tear open twice. Dry the space out first, spend real effort on insulation and electrical, then make your savings on forgiving flooring, a painted ceiling, and canless lighting.
You can finish a 700-square-foot basement for well under $10,000 doing most of the work yourself, and you’ll have added usable square footage that typically returns a big chunk of its cost when you sell. Start with the waterproofing check, plan one or two open zones instead of walls, and let the materials do the spending you can’t.